Benefits of Sprouting Grains

Why Sprouting Grains Benefits Your Health and the Best Way to Sprout Grains
Have you ever considered sprouting grains?
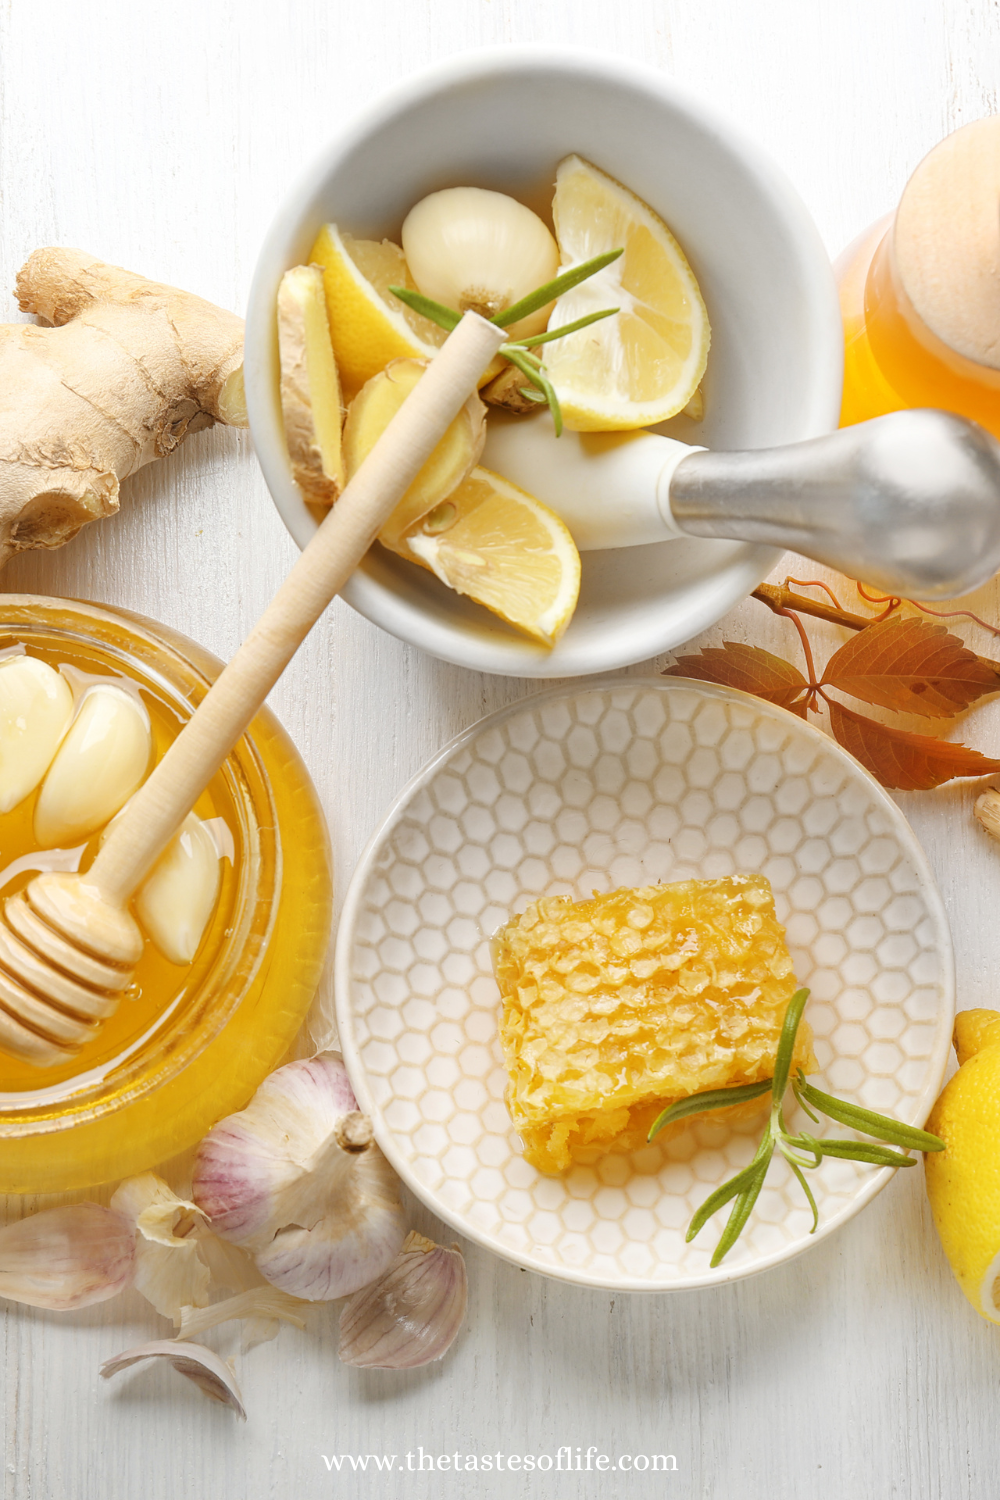
You don’t have to be a “raw foodist” or vegan to sprout your grains to receive amazing benefits. Sprouts are rich in enzymes, vitamins and easy to digest. The process requires a little bit of work and it’s worth it! I can show you that the work doesn’t have to be difficult.
Why sprout grains?
Sprouted grains are easier to digest than non-sprouted grains. All raw whole foods contain enzymes, vitamins, minerals, and/or proteins, which help nourish your body. While the health benefits of vegetables can be absorbed immediately when eaten raw or steamed, the full nutritional value of grains is locked up within them. In the nutshell, grains can be difficult to digest and are not as beneficial to your body when they aren’t sprouted.
Sprouting grains breaks down some of the difficult-to-digest proteins and sugars while also releases and increases vitamins. The sprouting of grains also activates enzymes and minerals such as zinc, vitamin C and iron. Sprouting is incredibly healthy and also gives the body a digestive break because much of the digestion of the grain has already occurred through sprouting! Those who are sensitive to gluten and other proteins found in wheat (and other grains) may have an easier time processing sprouted grains. Sprouted wheat contains more niacin, folate, and Vitamin B6 than unsprouted wheat. In addition, sprouted wheat contains more protein and fewer starches than non-sprouted grain, which leads to a lower glycemic index. Excellent for people who suffer from high blood sugar.
After grains are soaked in water then strained and left at room temperature in the dark, their reproductive system kicks in, and they begin to sprout and ferment. This fermentation process is what breaks down the proteins and sugars mentioned above and releases the probiotics that are indigenous to the grains. Added bonus: when sprouted grains are soaked, the liquid becomes probiotic-rich, and is known as rejuvalac. You can drink rejuvelac for its probiotic qualities, or use it to make vegan nut cheese!
Sprouting also neutralizes anti-nutrients like phytic acid, which binds up minerals preventing the body’s ability to fully absorb them. After I sprout my grains I like to dehydrate them in order to make flour. I can use the flour to make raw cookies or bake delicious recipes. If you don’t want to take time to sprout grains at home, you can always buy them at the store or online. As long as you are using raw grains–meaning grains that have not been processed, heat-treated, or roasted–you can sprout them! From corn, spelt, rye, buckwheat, barley, oats, rice, you can sprout grains of any kind.
Tasty Ways to Include Sprouted Grains into Your Meals
There are many uses for sprouted grains. Add sprouted grains to salads, grind them into flour for baked goods, or dehydrate them to make raw bread or bars. Most commonly, sprouted grains are added to green salads, or tossed with the dressing and other goodies to make grain salads. If you have a flour grinder (or a really awesome blender like Vitamix), you can grind your own flour for baked goods. It takes about 3 days from start to finish, including soak time, for my grains to sprout, and depends on the temperature of your house.
The Process of Sprouting Grains
Sprouting grains is not as difficult a process as you might think. Just follow the directions below for all grains and seeds. The germination time may vary from grain to grain. I like to use only organic grains, as they tend to sprout more evenly and reliably. I sprout a couple of cups of seeds at a time; however, you can sprout smaller amounts depending on your needs and how you will be using the grain.
Directions for Sprouting Grains
1. Clean the grain. Take care in sorting through the grain to remove all pebbles and grains with a poor appearance.
2. Rinse under lukewarm thoroughly.
3. Transfer the grains into a large size mason jar until the grain is completely submerged in water.
4. Cover the jar with cheesecloth bound by a rubber band. Or use a sprouting lid (sprouting lids can be bought at the grocery store), so that the bugs don’t get in.
5. Let grains soak for 12 hours (overnight).
6. In the morning, pour the grains into a fine-mesh sieve, drain and rinse them well. Don’t allow the grains to have too much moisture around them because of mold will form.
7. After the grains are thoroughly rinsed and drained, place them back in the jar. Make certain the grains are moist but not submerged in water.
8. Cover with a cheesecloth and repeat the entire process 2-3 times a day for 2-3 days.
* You know it’s working when you see cute little tails poking out of the grains. That means that they are ready to use!
9. Rinse the grains one last time, drain them and either refrigerate them or dehydrate them to grind into flour.
How to Make Sprouted Flour
1. Start with grains that have been recently sprouted for only a day or two – until the sprout barely emerges from the end of the kernel. The longer it sprouts, the more difficult it is to grind and use in baking.
2. Pour the grain into a thin layer on a mesh screen on your dehydrator and dehydrate at about 110 ° – 115 ° F until thoroughly dry. Approximately 24 h. If you don’t have a dehydrator you can spread the grains on a baking sheet and set it in an oven set to the lowest setting you can manage.
3. Once the grain is thoroughly dry, simply add it to the hopper of your grain mill and grind or you can use a high power blender to make your flour. Enjoy!
Do you want to know more? Book a session here: https://calendly.com/thrivinghormones-llc/15-minute-free-consultation
Please feel free to comment or ask any questions below. Share the blog on Instagram with the hashtag #thetastesoflifeholisticblog.
Yum