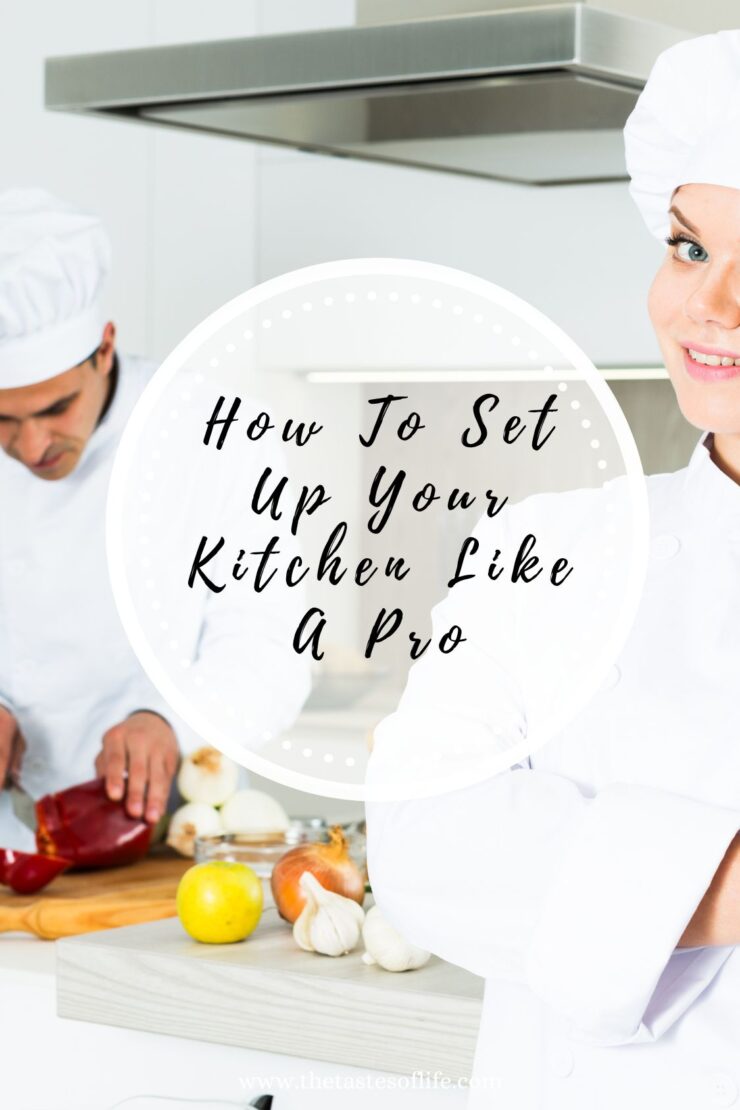
How To Set Up Your Kitchen Like A Pro
Want to cook like a pro without going to culinary school? Here’s how to set up your kitchen like a pro/personal chef with zones, organization, and real-life tips from a working chef.
A thoughtful kitchen setup is impratant for any cook. It helps you enjoy faster prep, smoother cooking, and simpler cleanup. With the best layout, cooking meals turns from a chore into something relaxed and enjyable.
Great organization, smart purchases (always worth a second thought), and kitchen ergonomics work hand in hand to help you cook more, waste less, and actually look forward to opening those cupboards. Whether your kitchen is tiny or sprawling, setting things up with purpose changes how everything feels. Let’s get into the small changes that make a big difference every time you cook.
How to Set Up Your Kitchen Like a Personal Chef (Even If You’re Not One)
Let me tell you something straight from the apron-wrapped trenches: cooking like a pro isn’t about fancy gadgets or Michelin stars. It’s about how you move in your kitchen and how you know your kitchen and your skills. If you’ve ever felt like dinner prep turns into a chaotic game of Twister: cutting board here, knife over there, olive oil who-knows-where, then you’re not alone. I’ve been there too, long before I started working in clients’ homes as a personal chef.
Now, my kitchen is my kingdom. I can whip up dinner, clean as I go, and still have time to sip a cup of tea before the oven timer goes off. Want in on my secrets? I’m going to show you how to set up your kitchen like a personal chef, yes, even if your idea of a soufflé is just eggs that accidentally puffed up.
My Journey: From Cluttered Countertops to Functional Flow
When I first started out as a personal chef, I was bouncing between clients’ kitchens with wildly different setups. It was quite stressful and time-consuming to figure out where everything was located. One had spices stuffed in five different drawers (none labeled), another kept knives in the garage (don’t ask). But every time, I found a way to create flow, and that’s where the magic is.
I took those lessons home. And now, whether I’m batch cooking for a busy family or prepping a four-course dinner party, my own kitchen runs like a well-oiled machine (olive oil, that is). It’s not about perfection. It’s about intention.
As a chef and nutrition consultant, I believe food should nourish not just your body, but your whole life, and that starts with a kitchen that supports your cooking style. Whether you’re making bone broth or batch-prepping roasted veggies for the week, your space should work with you, not against you.
A chef’s kitchen is all about efficiency, cleanliness, and comfort. The good news? You don’t need an industrial stove or a 12-foot island to create that vibe. Just a little strategy and a dash of discipline.

Assess Your Kitchen Space
Before you bring home any shiny gadgets, fresh jars, or that perfect skillet, it pays to know exactly what you’re working with. A well-planned kitchen is about making smart use of every nook and cranny. Taking a few minutes to assess your space saves time, money, and headaches down the road.
Take Stock of Your Available Space
Start by sizing up your kitchen: literally. Look at the counters, shelves, cabinets. Notice spots that tend to attract clutter or dead zones where nothing ever seems to fit. Pay attention to traffic patterns, busy corners, and any bottlenecks that keep things from flowing smoothly.
Ask yourself:
- Do you have more vertical storage than counter space?
- Are utensils and appliances easy to reach while working?
- Is there a spot that always feels crowded or hard to keep tidy?
Being honest about your kitchen’s limits helps you put function ahead of flashy new buys. Sometimes the best upgrade is a tidy drawer, not another appliance.
Recognize Your Cooking Workflow
The heart of a pro-style kitchen is a workflow that feels like second nature. Step into your space and walk through a typical meal: grab ingredients from the fridge, chop veggies, sauté on the stove, then plate up and head to the sink. Notice where your feet and hands go, not just where you want them to go.
A few practical things to check:
- Are your most-used items: knives, cutting boards, pots: within arm’s reach when you need them?
- Is the trash can handy when you’re peeling and chopping?
- Are there any “hot spots” where prep, cook, and clean-up lines cross and cause jams?
Understand the Kitchen Triangle
Professional chefs and designers often talk about the “kitchen triangle,” which connects the sink, stove, and fridge. Why? Because these three spots handle most of the kitchen action. If you have to zigzag twenty times between them, even making a sandwich becomes a workout. I love my current set up. The sink is on teh left, stove in eth ,iddle and eth fridge is on right and my prep zone next to the sink on the left. I have very easy acces to everything.
Look at how your own triangle measures up:
- Is each point accessible from the other two, or do big islands or open doors get in your way?
- Do you have enough counter space near each for prepping, cooking, or unloading groceries?
- Does the flow feel natural, or do you find yourself wishing the sink or stove was in a more convenient spot?
If you can’t move your appliances, you can still make the most of your triangle. Store mixing bowls near the prep area, keep towels close to the sink, and put a utensil crock next to the stove. Small tweaks create more ease, even in kitchens you can’t remodel.
Start With a Clear Vision
Resist the urge to shop before you know what you truly need. Picture your ideal day-to-day cooking routine. What would make things simpler? Do you dream of clutter-free counters, or just being able to find a spatula without digging?
Grab a notebook (or your phone) and jot down:
- What isn’t working now?
- What are your most common tasks: baking, sautéing, prepping salads?
- Are there items you use all the time, or ones you forgot you even owned?
Deciding what matters most (and what’s weighing you down) brings you closer to that pro-style kitchen. The goal isn’t a perfectly styled space but one that feels good to use, every single day.
Step One: Create Your Kitchen Zones
If you take one thing from this post, let it be this: set up your kitchen in zones. Professional kitchens do this for a reason; it minimizes chaos and helps you stay in the groove.
Here’s how I break it down:
1. Prep Zone
This is your cutting board HQ. Keep your knives, mixing bowls, measuring cups, peelers, graters, and microplanes within reach. I keep my cutting boards in a file-style rack right next to the knife block. Mixing bowls nest inside each other in the cabinet below, and I have a drawer just for prep tools, nothing fancy, just smart.
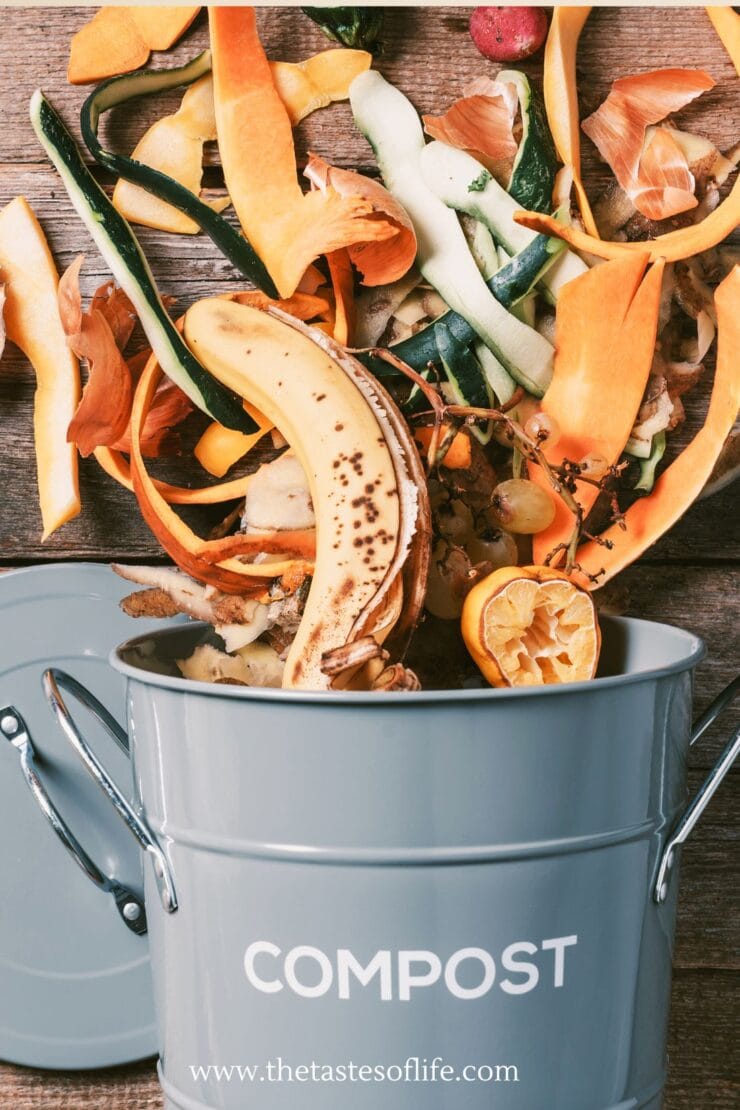
Bonus tip: I also keep a compost bowl or scrap bin here. It makes cleanup so much faster (and if you’re like me and cook a lot of veggies, it fills up fast!).
2. Cook Zone
This is around the stove and oven. Oils, vinegars, salt, pepper, and cooking utensils like spatulas, tongs, and ladles live here. I use a ceramic crock for utensils so I’m not rummaging through drawers mid-sauté. I also keep my most-used spices in jars next to the stove, lazy? No. Genius? Absolutely.
Sheet pans, baking dishes, and oven mitts are stored in a lower cabinet within arm’s reach in teh cabinets to the right because I’m right-handed. This zone is all about heat and hustle.
3. Clean-As-You-Go Zone
I can’t stress this enough: clean as you go. It’s the difference between cooking feeling fun and cooking feeling like a hostage situation. I keep a bin under the sink with backup sponges, cloths, and my favorite natural cleaning spray. My drying rack is collapsible, so I can tuck it away when not in use.
During cooking, I always have a damp rag nearby for wiping counters and a bowl for food scraps (aka the compost queen’s crown).
4. Storage Zone
This includes your pantry, fridge, and any other storage area where you keep containers. Group like with like: grains together, baking items together, snacks in their own kingdom. Use clear containers and label them as needed.
Want to save this recipe?
And for leftovers? I’m a glass container girl. I store lids in a shallow bin and containers stacked by size so I don’t play the “where’s the lid” game. Because no one has time for that.
Tools Within Reach: The Golden Rule
For me there’s something deeply satisfying about reaching for my chef’s knife and finding it exactly where it should be! This might sound silly, but the more I cook, the more I notice how tiny delays: like looking for tongs, moving the blender out of the way, can totally derail the flow.
Here’s how I keep my kitchen efficient:
- Knives + Boards: Cutting boards are stored upright right next to the knife block. Grab and go.
- Oils + Salt: My oils, vinegar, salt cellar, and pepper grinder sit on a round tray that turns next to the stove. The tray makes it easy to move and clean.
- Spices: I keep daily-use spices near the stove and everything else alphabetized in a drawer. OCD? Maybe. Worth it? 100%.
- Containers + Lids: I match them like it’s speed dating. If they don’t have a match, they’re out.
You don’t need 12 of everything. You need one good one that you can always find.

Mastering Mise en Place
Mise en place (pronounced “meez on plahs”) is French for “everything in its place.” It’s not just restaurant talk: it’s a mindset that transforms the way I approach every meal, big or small. Prepping and organizing ingredients before turning on the stove, it helps me move through recipes without frantic searches or missed steps.
Here’s how you can make mise en place your go-to kitchen habit:
- Read your recipe first. I take a minute to scan the recipe from start to finish before grabbing ingredients. This helps me spot anything I might need to chop, thaw, or pre-measure.
- Gather all ingredients ahead of time. I pull every spice, sauce, and vegetable onto the counter. No more halfway-prepped onions or missing soy sauce.
- Chop, measure, and prep. Dice onions, mince garlic, rinse beans, and measure seasonings. I use small bowls and ramekins (nothing fancy: jam jars work, too) to separate each item.
- Set items in order of use. Putting everything in line—herbs, veggies, broths, lets me flow from one step to the next, just like a cooking show.
Making mise en place a regular part of meal prep creates less stress, fewer spills, and much smoother cleanup. It’s also a great way to spot if you’re missing anything before you’re halfway through a dinner recipe.
How I Organize My Pantry Like a Pro
Let’s talk about the pantry, aka the culinary treasure chest that can either spark inspiration or give you heart palpitations. I’ve literally seen it all: overflowing bags of rice, numerous bags containing the same ingredients, mystery flours, and three bottles of half-used, rancid sesame oil. But with a little structure? Pantry that works!
Dry Goods
I keep dry goods like beans, lentils, pasta, rice, oats, and flours in clear containers, preferably glass. That way, I can see exactly what I have and avoid overbuying (or discovering six bags of chickpeas months later). Stackable containers save space and make things look instantly more zen.
Group grains, baking ingredients, and snacks together in their own designated zone. I even have a basket just for “almost empty” bags so I use them up first.
Liquids
Oils, vinegars, sauces, and syrups go on a lower shelf, ideally on a lazy Susan so I don’t knock over the sesame oil trying to reach the tamari. If it’s open, it goes in the front. I also keep things like coconut milk, broth cartons, and shelf-stable dressings nearby, grouped by type.
Spices (Bulk Lovers, This One’s for You)
If you buy spices in bulk (like I do), do yourself a favor and invest in small mason jars or spice jars with airtight lids. Then, label them. I repeat: label them. I use a simple label maker and stick them on the lid and the front so I can see them whether they’re in a drawer or standing up on a shelf.
This isn’t just about aesthetics, it’s about saving time and sanity when your hands are covered in turmeric and you need the cumin now.
Bonus: Pantry Bins + Labels
I’m a big fan of open bins to group small items, tea bags, baking extras, protein bars, even seaweed snacks. Each bin is labeled so I know exactly where to toss new items when I unpack groceries. It also makes it easier to delegate kitchen help (aka family members who wander in).
Prioritize Accessibility (Your Future Self Will Thank You)
How often do you use something? That’s the golden rule of where it goes.
- Frequently Used Items: Keep within easy reach—think knives, salt, coffee mugs.
- Rarely Used Items: Higher cabinets, garage shelves, or deeper storage.
- Everyday Dishes: Store near the dishwasher to speed up the unloading process.
- Coffee Station: If you’re a morning coffee person like me, create a mini café! Filters, mugs, and beans live near the coffee maker. No detours required.
A Few More Chefy Tips I Swear By
- Bowl for scraps: Always have one near your cutting board. Even better if it’s compostable.
- Trash and compost nearby: No one wants to walk across the room holding onion skins.
- Use vertical space: Hooks, magnetic strips, open shelves, think up, not out.
- Roll the cart: A rolling cart can be a game-changer for tiny kitchens. Extra counter space? Yes please.
- Declutter seasonally: Every season I do a quick sweep. If I haven’t used it in 6 months, it goes. That avocado slicer you bought in 2017? You know what to do.
It’s Not About Perfection. It’s About Flow.
You don’t have to be a professional chef to feel like one. Setting up your kitchen with intention gives you confidence, clarity, and more joy when cooking (and yes, more time to dance while the sauce simmers).
Think about how you move. Where do your hands naturally go? What do you reach for first? Build your kitchen around you. That’s what makes it personal, and powerful.
What’s Next?
If this inspired you to rearrange a drawer or two, amazing. Want to take it further? Try organizing one zone this week, start with your prep area. Clear it, clean it, group your tools, and make it yours.
I promise, when everything has its place, cooking becomes less about managing chaos and more about creating something beautiful. Like a proper chef, whether you wear the hat or not.
Let me know what part of your kitchen drives you nuts—I’m always happy to troubleshoot!
And if you want to see how I organize my actual kitchen, keep an eye out for my upcoming Kitchen Flow Guide (yep, printable and everything).
Time to sharpen your knives and organize like a boss.
Love My Content? Buy Me a Coffee!
Creating these resources for you is my passion, and I love hearing how they’ve helped you on your health journey. If you appreciate my content and want to support my work, you can buy me a coffee to help fuel more tips, recipes, and inspiration. Every little bit means the world to me!