Homemade Whipped Cream
Learn how to make fresh, homemade whipped cream with only 3 simple ingredients. With its light texture, this whipped cream is the perfect topping for coffee, crepes, pies, cakes, cupcakes, and so much more!

Homemade whipped cream is beyond delicious and easy to make, and you would never want to buy one from the store again. It is so much tastier and made from fresh and simple ingredients. (I bought one before from Whole Foods and made the mistake of not reading the label, and guess what it had genetically modified ingredients!😭😭)
Why Make Homemade Whipped Cream?
- Freshness: When making whipped cream at home, you use fresh ingredients, such as heavy cream, sugar, and vanilla extract. This results in a fresher and more flavorful whipped cream compared to pre-packaged alternatives that may contain preservatives or stabilizers.
- Customization: Homemade whipped cream allows you to customize the flavor and sweetness to your preference. You can adjust the amount of sugar or not add sugar at all (that is how I like it), add different flavorings like vanilla, chocolate, or citrus zest, and create a whipped cream that suits your specific taste. It is fun to explore different flavors.
- Control over ingredients: You have control over the quality of ingredients. You can choose to use organic or high-quality cream and avoid artificial additives or unwanted ingredients often found in commercial products.
- Texture control: Making whipped cream at home lets you control the texture. You can whip it to your desired consistency, whether you prefer a light, fluffy texture for topping desserts or a denser, firmer texture for cake fillings.
- Cost-effective: Homemade whipped cream can be more cost-effective than buying pre-made whipped cream, especially if you already have the basic ingredients like heavy cream and sugar in your kitchen.
- Fewer additives: Some store-bought whipped creams contain additives, stabilizers, and artificial flavors, which may not align with your dietary preferences or restrictions. Homemade whipped cream allows you to control what goes into your food.
Whipped cream, also known simply as “whipped cream,” is a light and airy topping made from heavy cream that has been whipped to incorporate air. It is a popular topping for various desserts and beverages, adding a creamy, slightly sweet, and luxurious texture to dishes.
How To Make Homemade Whipped Cream
To make whipped cream, you typically start with cold heavy cream (whipping cream), a high-fat dairy product containing at least 36% milk fat. The cream is whipped using a handheld mixer, a stand mixer, and a whisk until it thickens and increases in volume. As you whip the cream, the air is incorporated into it, creating tiny air bubbles that give the whipped cream its fluffy texture.
Usually, a sweetener such as granulated sugar and a flavoring like vanilla extract is added to the cream during the whipping process to enhance the taste. The sugar and flavorings can be adjusted to suit your preference. I usually make one without sugar and add vanilla. If I want to it to be sweet i add a little bit of allulose.
Whipped cream has a richness that comes from the fat content in the heavy cream. This richness adds a luxurious and satisfying quality to the desserts and beverages it tops. Many people add a dash of vanilla extract or other flavorings like chocolate, cinnamon, or citrus zest to their whipped cream to enhance its flavor profile. These additions can introduce subtle nuances and complement the dessert or beverage it accompanies.
Making homemade whipped cream is a breeze and one of the easiest recipes in my collection. You can create this delightful whipped cream with just three ingredients and five minutes of your time. Once you give it a try, I guarantee you’ll never want to return to store-bought canned varieties again.

Ingredients for Homemade Whipped Cream
- Heavy cream (also known as Whipping Cream): This is the primary ingredient for making whipped cream. It should have a high-fat content, typically around 36% milk fat or higher.
- Granulated Sugar (optional): Used to sweeten the whipped cream to your desired level of sweetness. The amount of sugar can be adjusted to suit your taste.
- Vanilla Extract (Optional): Vanilla extract adds a delightful flavor to the whipped cream. It’s an optional ingredient, but it enhances the overall taste. You can also use other flavorings like almond extract or citrus zest if you prefer.
That’s it! With just these simple ingredients, you can create delicious homemade whipped cream to elevate your desserts and beverages.
How to Make Whipped Cream
Ingredients:
- 1 cup (240 ml) heavy cream (also known as heavy whipping cream)
- 2 tablespoons of alullose or powdered sugar (adjust to taste, optional)
- 1 teaspoon vanilla extract (optional, for flavor)
Want to save this recipe?
Instructions:
- Chill Your Equipment: To ensure success, it’s essential to start with cold equipment. Place your mixing bowl (metal or glass is preferable) and beaters or whisk attachment from your mixer in the refrigerator for at least 15-30 minutes before starting.
- Measure the Ingredients: Measure out the heavy cream, powdered sugar, and vanilla extract (if using).
- Whip the Cream:
- Using a Hand Mixer or Stand Mixer: Pour the cold heavy cream into the chilled mixing bowl. To avoid splattering, begin whipping the cream at low speed, gradually increasing the speed to medium-high as it thickens.
- By Hand: If you don’t have a mixer, you can use a whisk. It will require more effort, but it’s doable. Vigorously whisk the cream in a chilled bowl until it starts to thicken.
- Add Sugar and Flavoring (Optional): Once the cream begins to thicken and form soft peaks (meaning it holds its shape but is still somewhat soft), you can add the powdered sugar and vanilla extract. Continue whipping until the cream reaches your desired level of sweetness and thickness. Be careful not to over-whip, as this can turn the cream into butter.
- Check the Consistency: To check the consistency, lift the beaters or whisk attachment. If the cream holds its shape in soft peaks and looks creamy and fluffy, it’s ready. If it’s too stiff, you’ve over-whipped it, but you can still use it.
- Serve or Store: Homemade whipped cream is best used immediately, but you can store any leftovers in the refrigerator for a short time. If the whipped cream starts to separate or lose its texture, you can gently re-whip it to restore its fluffiness.
Now comes the fun part, it’s time to enjoy this whipped cream however you see fit! You can use it in place of cool whip or whipped cream in a recipe that calls for one of those ingredients such as French Silk Pie, Eclairs, Cream Puffs, etc.
Or you can serve it as a condiment to your favorite dessert! Put it in a cute serving dish with a spoon and let people scoop it onto their favorite dessert! Here are some suggestions:
What If My Whipped Cream Curdles?
If you overmix the whipped cream and it becomes lumpy or curdled, you can fix it. Simply mix in fresh, unwhipped cream, adding 1 tablespoon at a time, either by hand with a wire whisk or using your mixer on low speed. Keep mixing until the lumps disappear. After that, you can re-whip the cream if necessary. Interestingly, the solid portion of over-whipped cream becomes butter.
Equipment
- Mixing Bowl: A chilled mixing bowl (metal or glass) is preferable because it helps keep the cream cold, which aids in the whipping process.
- Mixer (Hand Mixer or Stand Mixer)
- Refrigerator: You’ll need access to a refrigerator to chill your mixing bowl and any attachments you plan to use. This ensures that the cream stays cold during the whipping process.
- Measuring Cups and Spoons: You’ll need these to measure the heavy cream, powdered sugar, and any flavorings like vanilla extract.
- Powdered Sugar Sifter (Optional): A sifter or fine-mesh sieve can be handy for evenly incorporating powdered sugar into the whipped cream without lumps.
- Spatula

How to Serve It?
- Dessert Topping: Whipped cream is a classic topping for desserts. You can use it to crown pies (such as pumpkin pie or pecan pie), chia seeds pudding, yogurt parfait, cakes (like chocolate cake or cheesecake), fruit salads, or puddings. Simply dollop it on top or pipe decorative swirls for an elegant touch.
- Berries and Fruits: Fresh berries and sliced fruits like strawberries, peaches, or mangoes taste even better with a dollop of whipped cream. It adds a creamy contrast to the natural sweetness of the fruits.
- Ice Cream Sundae: Elevate your ice cream sundaes by adding a generous spoonful of whipped cream on top. It’s especially delicious with hot fudge or caramel sauce.
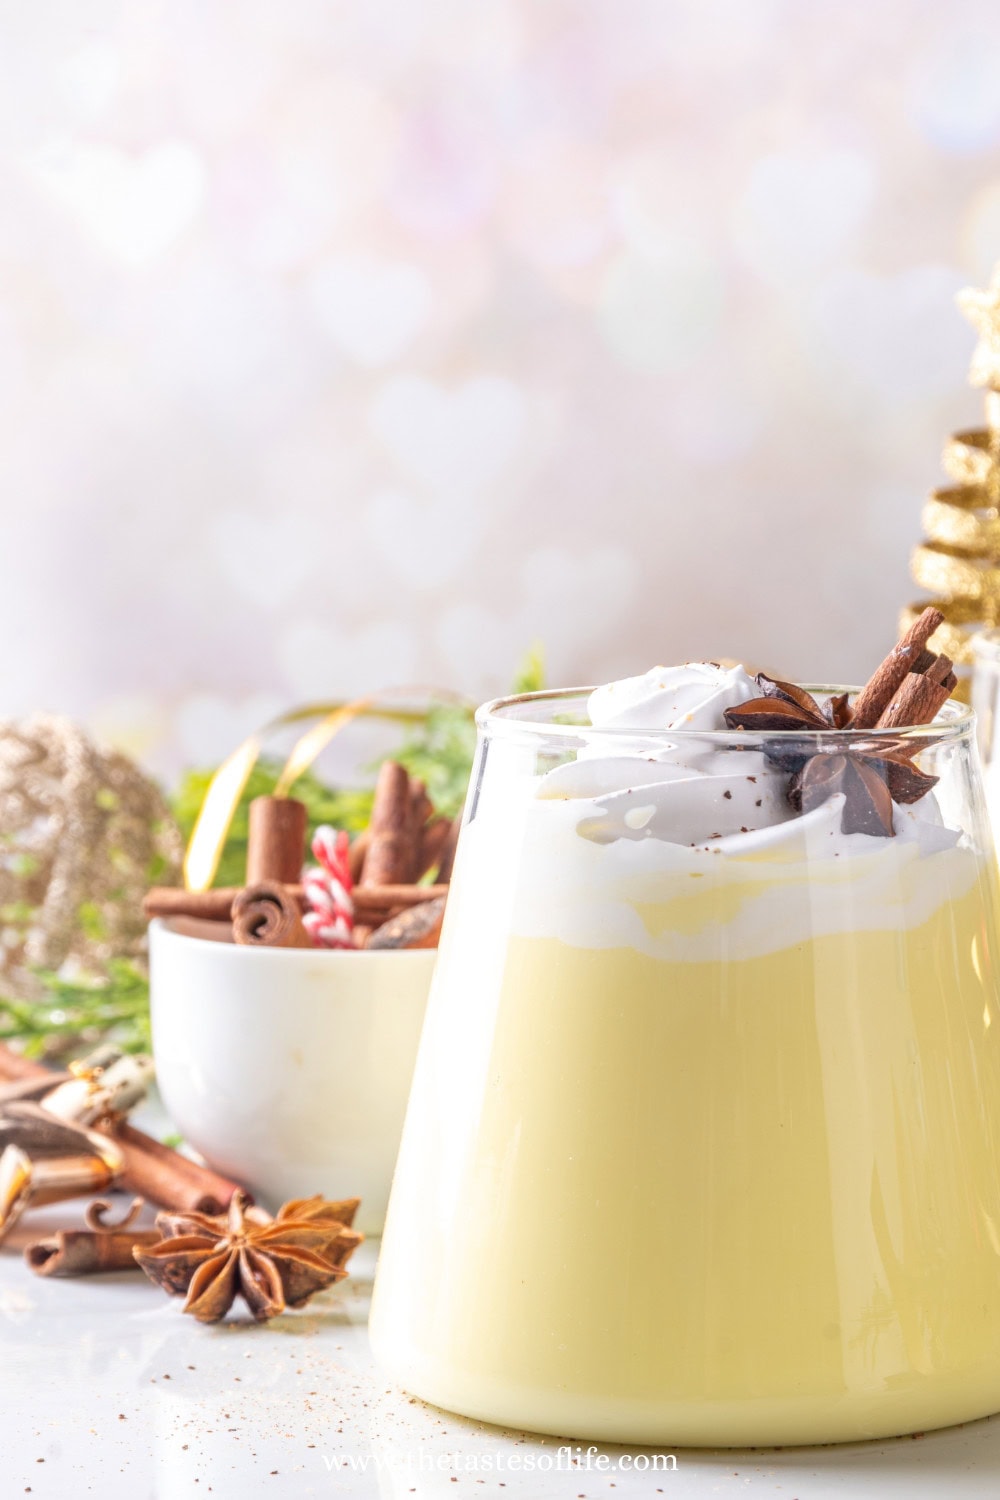
- Hot Beverages: Whipped cream is a delightful addition to hot beverages like hot chocolate, coffee, or mochas. After pouring your beverage, top it with whipped cream and a sprinkle of cocoa, cinnamon, or chocolate shavings.
- Cold Beverages: You can also use whipped cream to garnish cold drinks such as iced coffee, milkshakes, and smoothies. The cream adds a creamy, indulgent layer to your drink.
- Waffles and Pancakes: Whipped cream can be a delicious alternative to syrup on waffles and pancakes. Add it along with fresh berries for an extra-special breakfast treat.
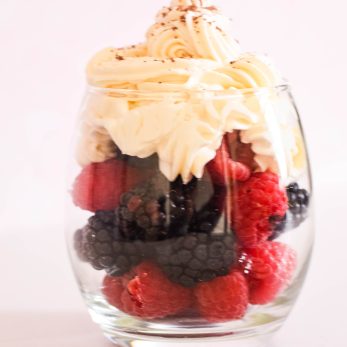
- Dessert Parfaits: Layer whipped cream in dessert parfaits with cake or cookie crumbles, fruit, and pudding or custard for a delightful dessert presentation.
- Trifles: Use whipped cream as one of the layers in a trifle dessert. Alternate layers of cake, fruit, pudding, and whipped cream for a visually appealing and tasty dessert.
- Mousses and Puddings: Top chocolate mousse or creamy puddings with a dollop of whipped cream to complement their richness.
- Tiramisu: Some variations of tiramisu include a layer of whipped cream along with mascarpone cheese and coffee-soaked ladyfingers.
- Beverage Garnish: Whipped cream can also be used as a garnish for cocktails, especially creamy or dessert-style cocktails like White Russians or Irish coffee.
- Frosting Replacement: Whipped cream can serve as a light and fluffy frosting for cakes and cupcakes. It’s a great option for those who prefer a less sweet topping.
- Dips: Sweet whipped cream can be a dipping sauce for cookies, biscotti, or fresh fruit. You can flavor it with extracts like almond or citrus for added depth.
Remember to serve whipped cream immediately, as it tends to deflate and lose its fluffiness over time.
How to Store It?
After making whipped cream, if you have any leftovers, it’s essential to refrigerate them promptly. Transfer the whipped cream to an airtight container. Store in the fridge for up to 3 days.
Did you make this recipe?
Please let me know how it turned out for you! Leave a comment below and share a picture on Instagram with the hashtag #thetastesoflifeholisticblog
Homemade Whipped Cream
Equipment
- hand or stand mixer
- meuserning spoons
Ingredients
- 1 cup heavy cream chilled
- 1 tbsp powdered sugar optional
- 1 tsp vanilla otional if you don't like it
Instructions
- Chill Your Equipment: To ensure success, it's essential to start with cold equipment. Place your mixing bowl (metal or glass is preferable) and beaters or whisk attachment from your mixer in the refrigerator for at least 15-30 minutes before starting.
- Measure the Ingredients: Measure out the heavy cream, powdered sugar, and vanilla extract (if using).
Whip the Cream:
- Using a Hand Mixer or Stand Mixer: Pour the cold heavy cream into the chilled mixing bowl. To avoid splattering, begin whipping the cream at low speed, gradually increasing the speed to medium-high as it thickens. By Hand: If you don't have a mixer, you can use a whisk. It will require more effort, but it's doable. Vigorously whisk the cream in a chilled bowl until it starts to thicken.Add Sugar and Flavoring (Optional): Once the cream begins to thicken and form soft peaks (meaning it holds its shape but is still somewhat soft), you can add the powdered sugar and vanilla extract. Continue whipping until the cream reaches your desired level of sweetness and thickness. Be careful not to over-whip, as this can turn the cream into butter.Check the Consistency: To check the consistency, lift the beaters or whisk attachment. If the cream holds its shape in soft peaks and looks creamy and fluffy, it's ready. If it's too stiff, you've over-whipped it, but you can still use it.Serve or Store: Homemade whipped cream is best used immediately, but you can store any leftovers in the refrigerator for a short time. If the whipped cream starts to separate or lose its texture, you can gently re-whip it to restore its fluffiness.
Love My Content? Buy Me a Coffee!
Creating these resources for you is my passion, and I love hearing how they’ve helped you on your health journey. If you appreciate my content and want to support my work, you can buy me a coffee to help fuel more tips, recipes, and inspiration. Every little bit means the world to me!